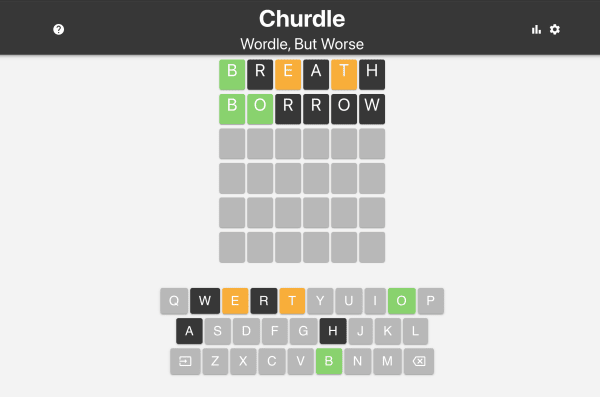
Churdle
archivedA 6 letter variation on the popular 'Wordle' game. Includes an additional hard mode where a random letter is selected to be the 'bomb'. If the user uses that letter in their guess, the entire word blows up and the turn is wasted.
Portfolio
A few projects from the office and the workshop
A 6 letter variation on the popular 'Wordle' game. Includes an additional hard mode where a random letter is selected to be the 'bomb'. If the user uses that letter in their guess, the entire word blows up and the turn is wasted.

Blog/Project website built with SvelteKit. - Hosted on Vercel - Neon Postgres Backend - Cloudinary for image hosting Features: - Incremental Static Regeneration (ISR): Allows faster page load times by caching w/ 24 hour invalidation period - Integration with HEVY API: Webhook provides live updates for whenever a new workout is logged in the HEVY App - Secured admin UI for updating page content - Blog, Project content hosted in Postgres and Cloudinary: Able to create, edit, delete posts/projects and have changes live instantly. Posts support markdown rendering and images
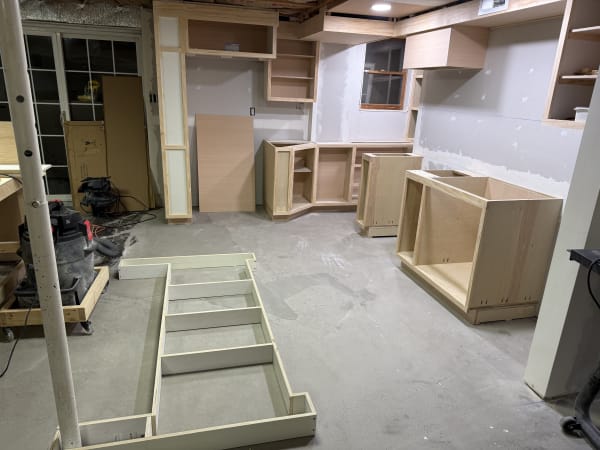
Our downstairs kitchen area has tight dimensions to work with, so 'off the shelf' cabinets wouldn't work for our needs, and the cost of custom cabinets is obscene. I naively thought that it couldn't be too hard to build the cabinets, and was humbled by the process. I did not document the process well enough, but I do have a few pictures and can probably scrounge up some more. Fully building out everything took me months, and I'm abysmal at putting my photos in meaningful albums. The result is a smattering of photos here and there interspersed between photos of my dogs and/or wife. One of the things that still needs to be done is adding positive stops with magnets to all of the doors. Through a series of poor decisions, we decided we wanted to do inset doors. The patience and skill required to do this is something I am aspiring to get to someday. That aside, the resulting doors need something to close against (and stay closed against) that holds them nice and flush with the cabinet frame.
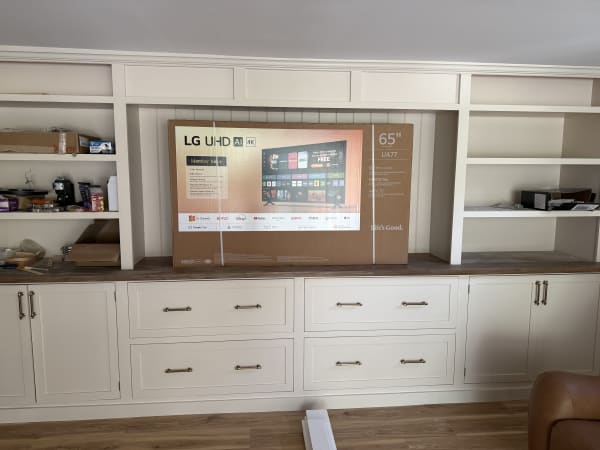
My first foray into building cabinets. Our basement had a 14ft section along the back wall that is two feet deeper than the rest of the wall, which felt like the perfect opportunity for a built in. Our house was built ~70 years ago, and because of this, the floor joists of the main floor have sagged significantly. Over the 14ft span of that wall section, there is a total loss of 1.5 inches, with a significant 'belly' in the center of that. To fix this would require far more time, skill, and money than I cared to shell out. The solution was to build everything sized to the smallest dimension, and use trim to cover the sins. There were a lot of sins. The 'Finished Product" photo highlights the wavy-ness of the crown molding. In person it's far less noticeable, but it still bothers me. To add some depth, we built the bottom cabinets the full depth of the recess, and then set the bookcases back 8 inches. We wanted the bookcases to be more shallow (I don't own any books that are 16 inches deep), but some interesting plumbing in the floor above prevented that. For the counter-top, I went with 1x6 'select' pine boards that we joined together with dowels. This did not go well. A biscuit joiner and a planer would have resulted in a finish that required far less sanding. It would have been better to go with a harder wood as well (such as poplar), but I wanted to save a bit of money. Also, my wife and I aren't planning on abusing the counter-top to any degree. I don't have any pictures of the fully finished product at the moment, but will try to upload them if I remember.
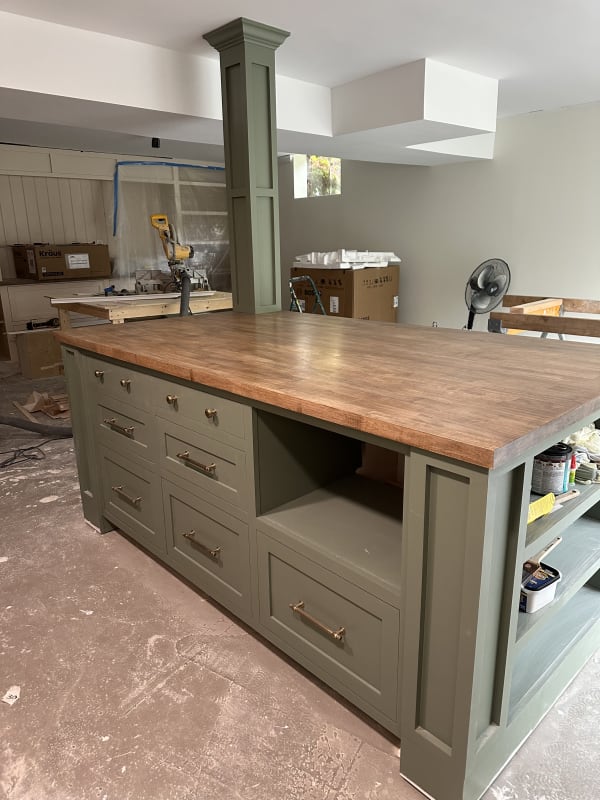
My wife and I wanted a large island in our kitchen to increase the amount of countertop surface area. We wanted it to be a bit of an accent piece, so we decided to go with a green color and dark brown butcher block countertop to add some color and warmth to the kitchen. For storage, we opted for drawers over traditional cabinets. We also decided on doing inset doors, which proved to be quite a challenge for me. They're not perfect, but I'm pretty happy with how they turned out! I made all of the drawers out of 3/4 ply. If I had to do it over again, I'd probably do a combination of 1/2 for the sides and 3/4 for the front and back. That being said- they are sturdy! We used BlumMotion under mount drawer slides, which have a solid, smooth glide and soft-close. The cabinets and drawers themselves are made from 3/4 plywood. I built the entire carcass in 4 pieces- The toe-kick, the two side shelves, and then the big central piece. I didn't do any fancy joints for the drawers, but I rabbeted/dadoed most of the joints where it felt necessary. The countertop consists of two prefabricated Hevea Wood Butcher Block countertops joined together. We wrapped the ugly metal support post in plywood and then trimmed it out to match our cabinet doors and drawers. This also allowed us to run the necessary wiring for our microwave (the open space top right of the 'face' of the island)
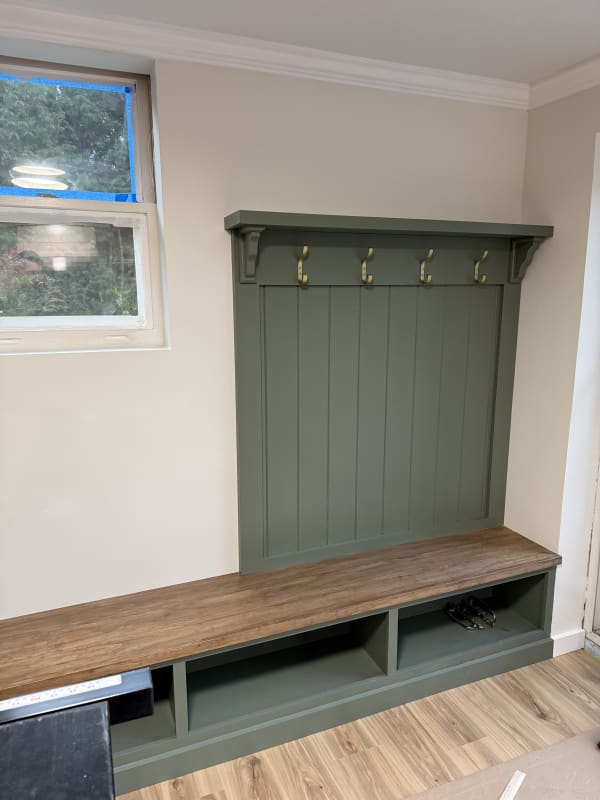
Small bench in our downstairs mudroom with shoe storage and a coat rack